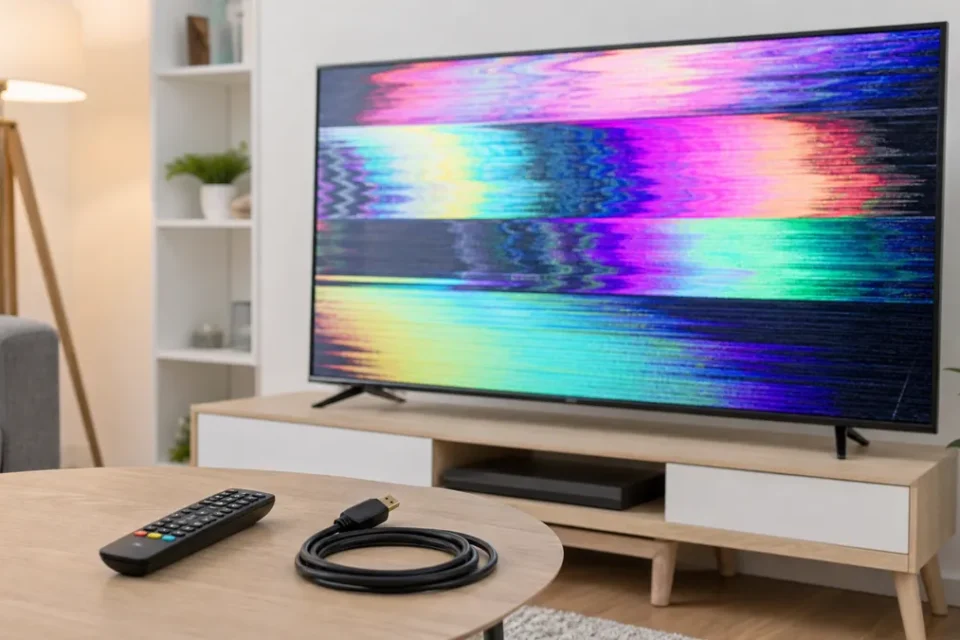
Samsung TV color problems are easier to investigate when you separate the television’s own picture from the app, player or cable supplying it. Start with the built-in Picture Test before changing lots of settings or considering a replacement.
This guide covers distorted colors, unusual tint and picture glitches. It does not assume that every model has identical menus. Read the label on your screen and use the manual for your exact model if a setting is missing. If there is no visible picture at all, use our Samsung TV black-screen troubleshooting guide instead.
1. Start Samsung TV color problems with Picture Test
On many recent models, open Settings → All Settings → Support → Device Care → Self Diagnosis → Picture Test. Some older televisions put Self Diagnosis directly under Support. Follow the prompts and inspect the test image, not just the small menu overlay.
Samsung explains the tool in its self-diagnosis and reset guide. A normal test points you toward the connected source. A faulty test image warrants Samsung support. It is a useful distinction, not a component-level diagnosis.
2. Compare more than one source
Write down which combinations reproduce the problem: one streaming app, one HDMI device, or everything including Picture Test. Try a different programme as well. This avoids treating a single video’s appearance as a fault across the whole television.
Keep a short record such as “console: purple; built-in app: normal; test: normal”. That record is more useful than repeatedly changing saturation without knowing whether the change helped.
3. Restart the affected devices
Exit the affected app and restart the television using the procedure in its manual. Restart a connected player too if only that source is affected. Do not interrupt a software update. Afterwards, replay the same scene so you can compare the result.
A restart is a test for a temporary problem, not proof that the underlying cause has disappeared. If the fault returns, record when it happens and continue with the relevant branch below.
4. Check the physical connections
Turn off equipment before reconnecting accessible signal cables. Check that plugs are seated and that you selected the intended input. With component video, match Y, Pb and Pr labels carefully: the red video connector is not the red audio connector.
Samsung’s picture troubleshooting instructions distinguish component-cable color faults from problems visible in Picture Test. Do not open the television or attempt an internal repair.
5. Test the HDMI path one change at a time
If the problem is limited to HDMI, compare another suitable cable, then another input or source device. Keep the other parts of the setup unchanged between tests. Borrowing a known-working cable is more informative than buying several accessories immediately.
Some Samsung models offer HDMI Troubleshooting or an HDMI Cable Test under Self Diagnosis. Availability varies; an absent option does not indicate a fault. Samsung notes that its cable test is intended for cables shorter than two metres.
6. Check picture mode and color controls
Under Settings → Picture → Picture Mode, compare an available preset with the current one. Samsung’s picture settings guide describes Standard, Dynamic and other modes, plus controls such as Color and Tint in Expert Settings.
Photograph existing values before experimenting. Change one setting, compare the same scene, then undo changes that do not help. Avoid copying calibration numbers from a different television. If the issue is specifically a persistent tint, continue with our blue or purple Samsung TV picture guide.
7. Reset the picture, not the whole television
If many picture adjustments have accumulated, use Picture → Expert Settings → Reset Picture and confirm the on-screen prompt. This restores picture preferences. It is different from a full TV reset or Reset Smart Hub.
Samsung’s picture-reset instructions explain the paths for newer and older models. Note any personal calibration first. Do not erase app accounts merely to test a color adjustment.
8. Check for an appropriate software update
Use Support → Software Update → Update Now where available. Keep power connected until the update finishes. For a manual download, use Samsung’s support page for the exact model and region, never firmware chosen only because the screen size matches.
Afterwards, retest the original symptom and review picture preferences. If brightness changes are the actual complaint rather than wrong colors, see our guide to Samsung TV dimming.
9. Stop and request service when appropriate
If defects remain in Picture Test, contact Samsung or an authorised repair service. Prepare the model code, software version, test result and a photograph of the fault. Explain which sources you compared and which changes you reversed.
Ask for a diagnosis and estimate before approving work. A troubleshooting article cannot determine remotely whether a panel, board or another part needs replacement.
Frequently asked questions
Does a normal Picture Test guarantee every app works?
No. The test uses its own image; it does not certify every external source or app. Continue investigating the combination that actually fails.
Should I factory-reset immediately?
No. Start with observation and targeted checks. A full reset requires setup again; Smart Hub reset also removes account and app information. Read Samsung’s instructions before choosing either.
The useful result is a narrower diagnosis
You do not need to perform all nine steps when an earlier test identifies the relevant source. Keep the successful setting, undo unhelpful experiments, and give support your findings if the fault persists.