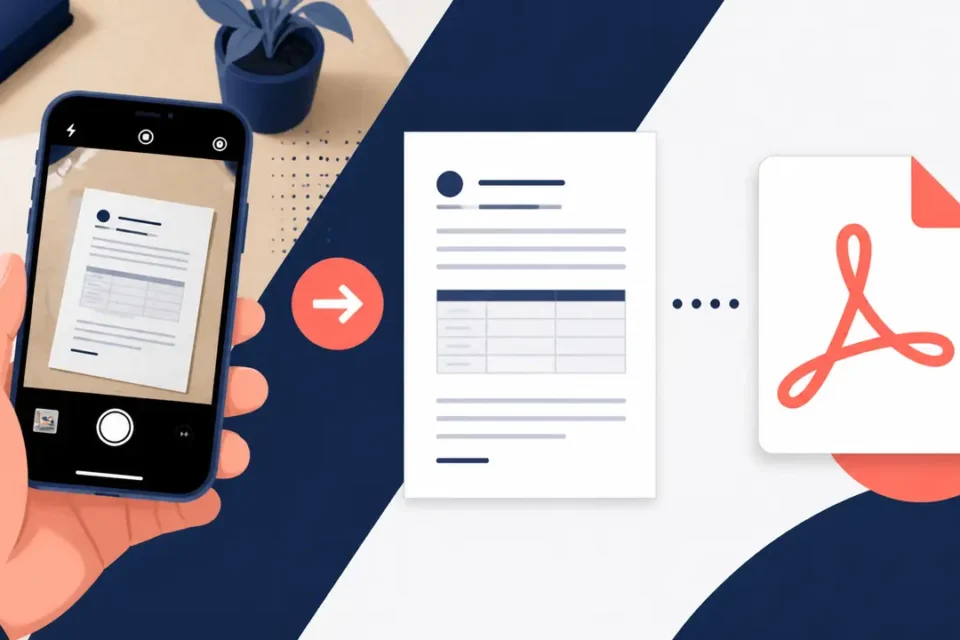
To turn phone photos into PDF, first decide whether you already have image files or still have the paper document. Existing photos need conversion; paper pages need scanning. This guide separates those situations so you can create a readable file without repeatedly photographing the same page or uploading private documents to an unfamiliar converter.
Before you turn phone photos into PDF
Keep the original pictures until the recipient accepts your PDF. Check the requested format, maximum upload size and whether all pages must be combined. A three-page form may need one file, while three separate receipts may need individual attachments. Follow the destination’s instructions rather than assuming that every PDF is acceptable.
Arrange your source files in the intended reading order. Check names, dates, amounts, page numbers and signatures at full size. Conversion changes the container, not the information captured: a missing corner, blurred reference number or reflection remains a problem inside a PDF.
1. Convert an existing image on a recent iPhone
If your iPhone has Preview, open the image there. Use the menu beside its filename, choose Export, then PDF. Save the result somewhere you can find again. Apple documents the available formats and size control in its Preview export guide. Menu wording can differ with the device language and system version.
This is useful when someone has already sent you a clear photograph of a document. Do not print that photograph and scan the printout simply to obtain a PDF: that adds another opportunity to lose detail. Work from the best original file available.
2. Combine pages in Preview when available
Open the PDF and display its page thumbnails. Hold a thumbnail to insert another file, then move the thumbnails into the required order. Check the finished document from first page to last. See Apple’s page management instructions for supported controls. These directions require an iPhone version that includes Preview; they are not a promise that older systems have the same menu.
3. Scan paper with Notes on iPhone
Open a note, choose the attachment control and select Scan Documents. Capture the page, adjust the corners if necessary, and keep scanning the remaining sheets before saving. Open the scanned attachment itself when sharing. Apple’s Notes scanning instructions explain the capture process.
For a double-sided document, deliberately include both sides when required. Place the completed sheets in a separate stack so you do not miss a back page or capture the same side twice. Do a final page-count comparison against the paper original.
4. Scan paper on Android with Google Drive
In Drive, open the camera/scanning control, capture the document and check its crop. Add the other pages, finish the scan, choose PDF and select its name and destination. This saves into Drive, so check which Google account and folder you are using. Follow the official Android scanning guide if the controls differ.
This scanner is a paper-capture workflow. It is not the same as changing an existing JPEG’s extension to .pdf. Renaming a file alone does not convert its format. If you only have existing pictures, use a converter or export feature offered by an app you already trust and verify where processing takes place.
5. If an Android app does not offer PDF export
Look in that app’s documented Share, Export or Print options. Do not assume that every gallery app offers identical controls: Google explicitly notes that not every app supports printing. If no suitable function exists, moving copies to a trusted computer can be preferable to granting a random app access to your whole photo library. Keep your originals untouched during the experiment.
Fix a large, blurry or rejected PDF
- Too large: remove accidental duplicate pages first. If you then compress, work on a copy and compare the smallest text before submitting.
- Blurry: return to the original picture. If it is already unreadable, take a better photograph with steady framing and even lighting.
- Wrong order: check actual page contents, not just filenames or thumbnail appearance.
- Upload rejected: compare the site’s size and file-type rules with the exported file. Password protection may be incompatible with a submission portal.
If saving fails because storage is full, follow our phone storage guide. If the camera cannot capture any page, use the black camera screen troubleshooting guide before trying another converter.
Frequently asked questions
Does a PDF make the text searchable?
Not necessarily. An image-only PDF can be readable without containing searchable text. If search or text selection matters, test those functions in the finished file instead of assuming conversion added them.
Should I delete the photos straight away?
No. First reopen the saved PDF, confirm its pages and make sure the intended recipient can use it. Then remove unnecessary copies according to your own document-retention needs.
Can I send a cloud link instead?
Only if the recipient accepts links and has the required access. Test the sharing permissions; attaching a file and sharing access to a cloud document are different actions.
Final check before sending
Confirm the file opens, all required pages are present, text is legible, and the destination is correct. The successful result is a usable document, not simply a filename ending in PDF. Send only the information actually requested.